It is 7am when the campground host knocks: "We have had complaints about your generator.
You need to turn it off during quiet hours."
If you have ever been that person, standing there in your bathrobe because your batteries left you no choice, you know how it feels.
Running a generator through quiet hours disrupts everyone else's peaceful morning, and it gets old fast.
Solar power changes that.
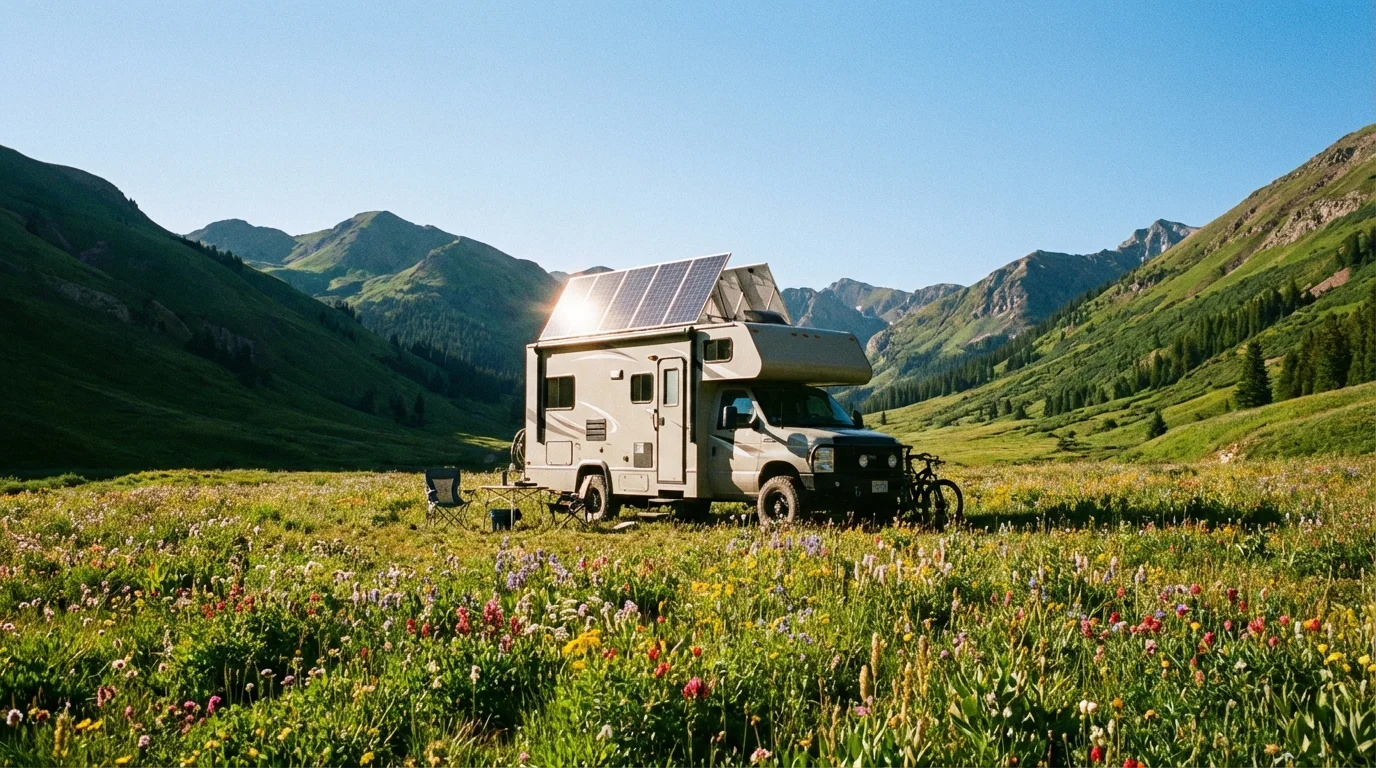
Picture waking up in the same national forest in complete silence, with your coffee maker humming, your phone fully charged, and not a single generator start in weeks.
Solar does not just change how you camp.
It changes what camping feels like.
*This article contains affiliate links.
If you purchase through these links, Smart RV Hub may earn a commission at no extra cost to you.*
This guide walks through what actually matters when building an RV solar system, from the mistakes that cost RVers money to the decisions that pay off.
Whether you are tired of generator noise or want to camp further from hookups, here is what you need to know.
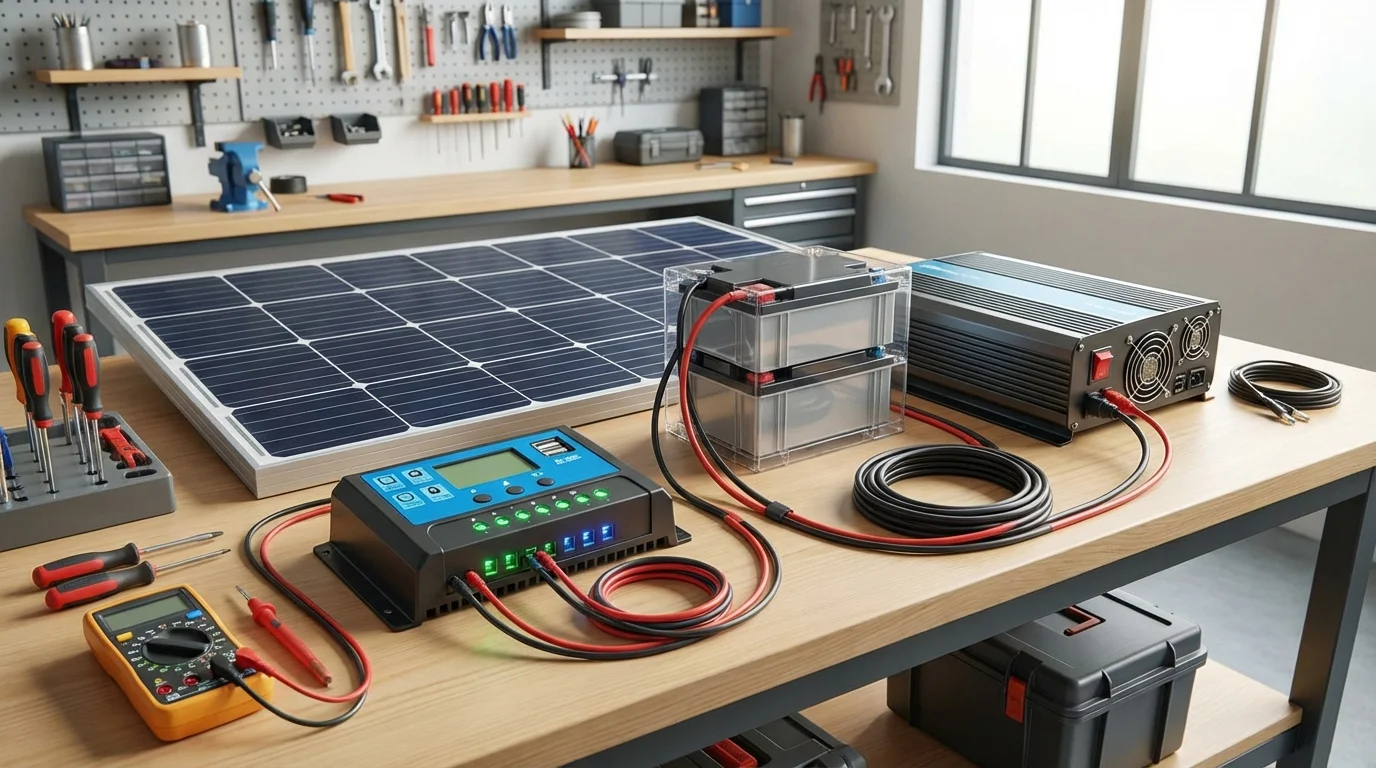
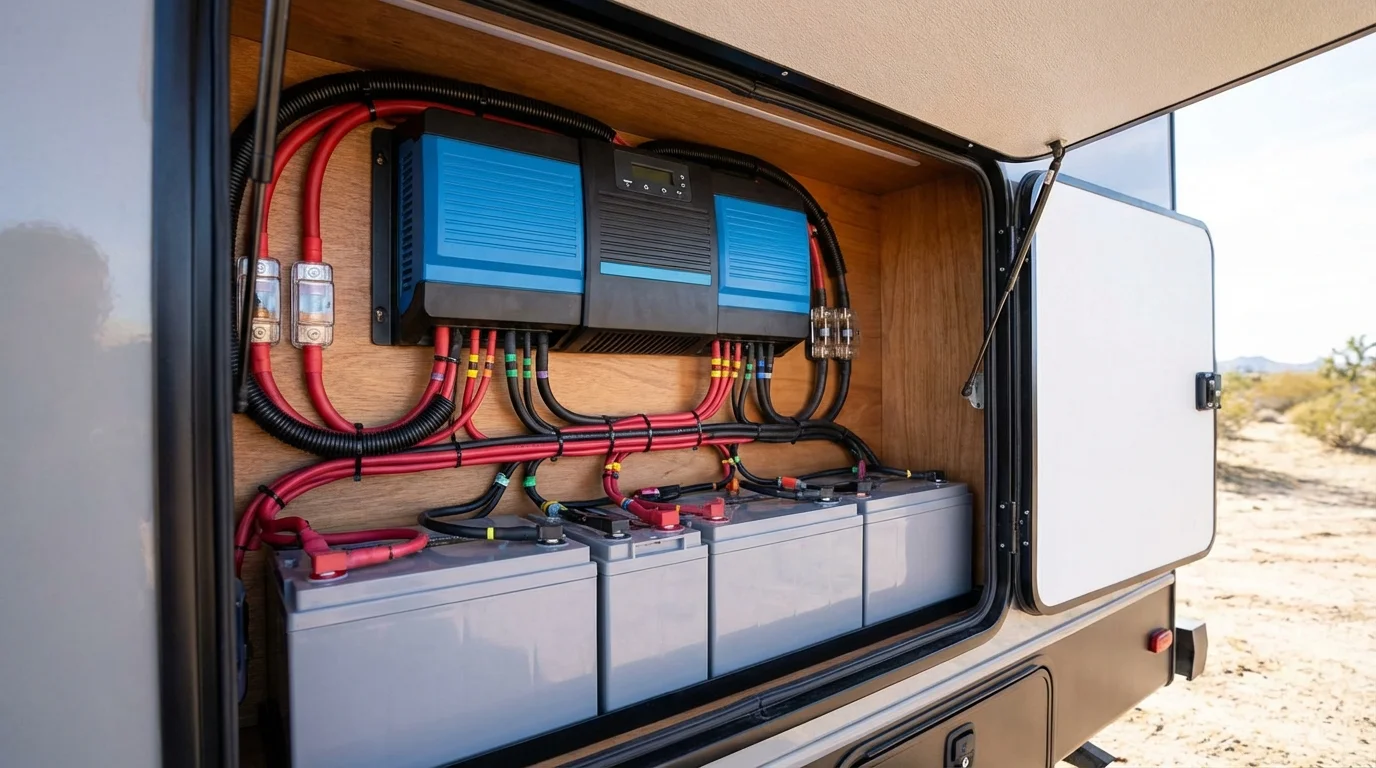
1. Understanding the Core Components
An RV solar power system is more than just panels.
It's a synergistic collection of components working together to safely generate, store, and deliver electricity.
- Solar Panels: These are the heart of your system, capturing sunlight and converting it into DC (Direct Current) electricity.
- Charge Controller: This is the brain. It regulates the voltage and current coming from your solar panels to your batteries, preventing overcharging and ensuring battery health.
- Batteries: This is your energy bank. They store the power generated by your panels for use when the sun isn't shining.
- Inverter: This component converts the 12V DC power from your batteries into 120V AC (Alternating Current) power, which is needed to run standard household appliances like microwaves, laptops, and coffee makers.
- Wiring, Fuses, and Breakers: These are the vital circulatory and safety systems that connect everything and protect your equipment and RV from electrical faults.
2. Sizing Your System: The Power Audit
Before buying any components, you must determine your daily energy consumption.
This is the most critical step.
How to Conduct a Power Audit:
- List all DC and AC devices you plan to use daily (lights, water pump, fans, laptops, TV, etc.).
- Find the power draw (in watts) for each device. This is usually on a label or in the manual.
- Estimate the number of hours you'll use each device per day.
- Calculate Watt-Hours (Wh): For each device, multiply its wattage by the hours of use. (Watts x Hours = Watt-Hours).
- Total Your Daily Watt-Hours: Add up the Wh for all devices. This is your target daily energy production.
Example:
- 6 LED Lights (3W each) for 4 hours: 6 * 3W * 4h = 72 Wh
- Water Pump (60W) for 0.5 hours: 60W * 0.5h = 30 Wh
- Laptop (65W) for 3 hours: 65W * 3h = 195 Wh
- Total Daily Need: 72 + 30 + 195 = 297 Wh
It is wise to add a 20-25% buffer to your total to account for inefficiencies and unexpected needs.
So, you would aim to generate around 370 Wh per day.
3. Choosing Your Components Wisely
With your power audit complete, you can select components that match your needs.
Affiliate Disclosure
This page contains affiliate links.
When you purchase through these links, we may earn a commission at no additional cost to you.
This helps support our free calculators, guides, and research tools. Read our full disclosure
Affiliate link. We may earn a commission at no extra cost to you.
Solar Panels
- Monocrystalline vs. Polycrystalline: Monocrystalline panels are more efficient and perform better in low light, making them the preferred choice for RVs where space is limited.
- Rigid vs. Flexible: Rigid panels are more durable and typically have a longer lifespan. Flexible panels are lightweight and can be mounted on curved roofs, but they are less durable and have a shorter warranty.
Batteries
- Lead Acid (AGM/Gel): A proven, budget friendly technology. However, they are heavy, have a shorter lifespan, and you should only use about 50% of their rated capacity to avoid damage.
- Lithium (LiFePO4): The premium choice. They are lightweight, have a much longer lifespan (10x or more), can be discharged up to 80-100% without damage, and maintain a more stable voltage. While the upfront cost is higher, they often have a lower total cost of ownership.
Affiliate link. We may earn a commission at no extra cost to you.
Charge Controllers
- PWM (Pulse Width Modulation): An older, less expensive technology. It acts like a simple switch, best suited for smaller systems.
- MPPT (Maximum Power Point Tracking): A more advanced and efficient controller that can convert excess voltage into more charging amps. According to solar industry specifications, MPPT controllers can boost your solar harvest by up to 30% compared to PWM controllers, making them essential for most RV systems.
Inverters
- Modified Sine Wave: A budget option that works for simple electronics but can cause issues with sensitive devices like microwaves, variable speed tools, and some laptops.
- Pure Sine Wave: Produces clean, high quality AC power identical to what you get from a wall outlet at home. It's the recommended and safer choice for any modern RV setup to protect your valuable electronics.
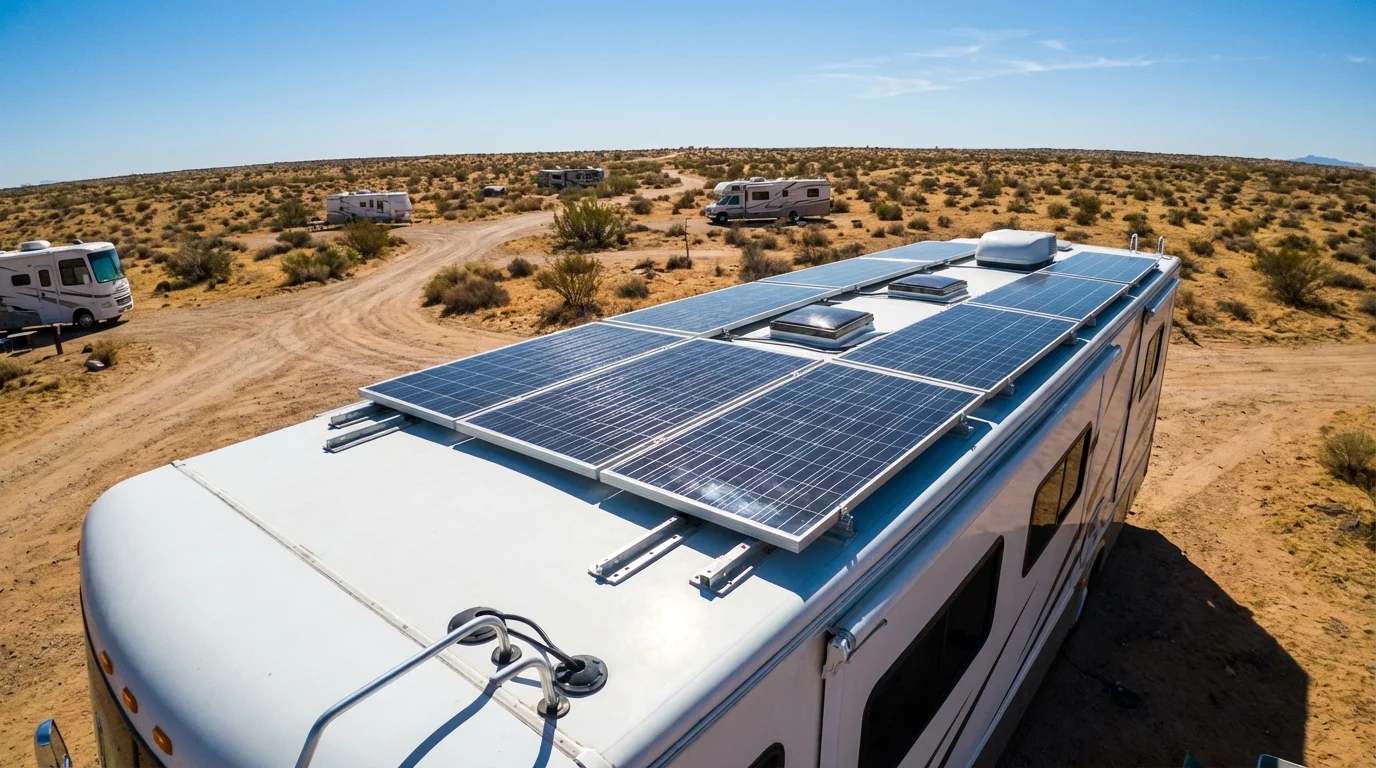
4. Installation Best Practices
Proper installation is key to a safe and efficient system.
If you are not comfortable with electrical wiring, hire a professional.
- Panel Wiring: Panels can be wired in series (increases voltage), parallel (increases amperage), or a combination of both. Your choice depends on your charge controller's specifications and your desired performance characteristics.
- Mounting: Securely mount panels to your RV roof using appropriate brackets. Ensure there is a small air gap underneath rigid panels for cooling, as heat reduces efficiency. Seal all roof penetrations thoroughly with a high quality RV sealant.
- Component Location: Keep wire runs as short as possible, especially between the charge controller and batteries. Install batteries and inverters in a well ventilated compartment.
- Safety First: Use correctly sized wires to handle the current. Install fuses or circuit breakers at key points: between panels and controller, controller and batteries, and batteries and inverter. A master battery disconnect switch is also highly recommended.
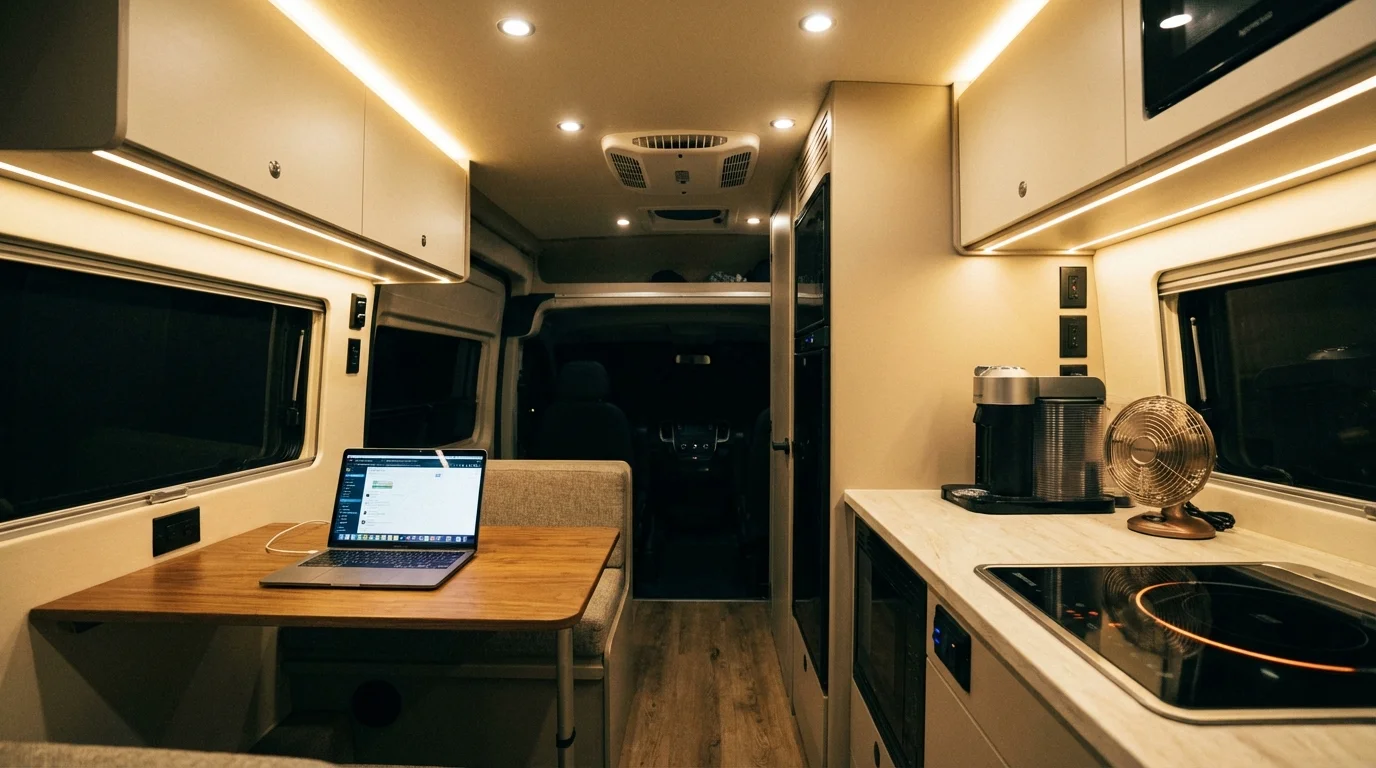
5. Getting the Most from Your Solar Setup
Your system is installed, but a few habits can maximize its performance.
- Park in the Sun: It sounds obvious, but actively seek out sunny spots when camping.
- Keep Panels Clean: A layer of dust, pollen, or bird droppings can significantly reduce output. Clean your panels regularly with water and a soft cloth.
- Tilt Your Panels: If you have tiltable mounts, angling your panels directly towards the sun (especially in winter) can dramatically increase your power generation.
- Monitor Your System: Use a battery monitor (like a Victron BMV or SmartShunt) to get an accurate reading of your battery's state of charge and your real time power consumption. This helps you understand your usage patterns and live within your energy budget.
Investing in a solar power system is one of the most rewarding upgrades for any RVer.
It unlocks a new level of freedom, allowing you to explore more remote and beautiful places without being tethered to a power pedestal.
With careful planning and a quality installation, you can enjoy reliable, clean, and quiet power on all your adventures.
Not Sure If Solar Is Right for You? Test It First
Before investing $2,000 to $8,000 in a solar system, consider renting an RV with solar to experience off grid living firsthand.
Many RV owners on Outdoorsy list rigs with complete solar setups.
You can test drive solar powered camping before committing to your own system.
Why rent first:
- See how much power you actually use daily
- Experience real world charging in different weather
- Learn system operation without the investment
- Build confidence before buying
Affiliate link. We may earn a commission at no extra cost to you.
Start Your Solar Journey Today
Ready to harness the power of the sun for your RV adventures?
Begin with a thorough power audit to determine your exact energy needs.
Consider starting with a smaller system and expanding as your confidence and needs grow.
Quality components from reputable manufacturers will provide years of reliable service and better long term value.
Professional installation can ensure optimal performance and proper safety measures, while DIY installation can save money for those with electrical experience.
The freedom and peace of mind that comes with solar power makes it one of the most valuable investments for any serious RVer.
Affiliate link. We may earn a commission at no extra cost to you.
Affiliate link. We may earn a commission at no extra cost to you.