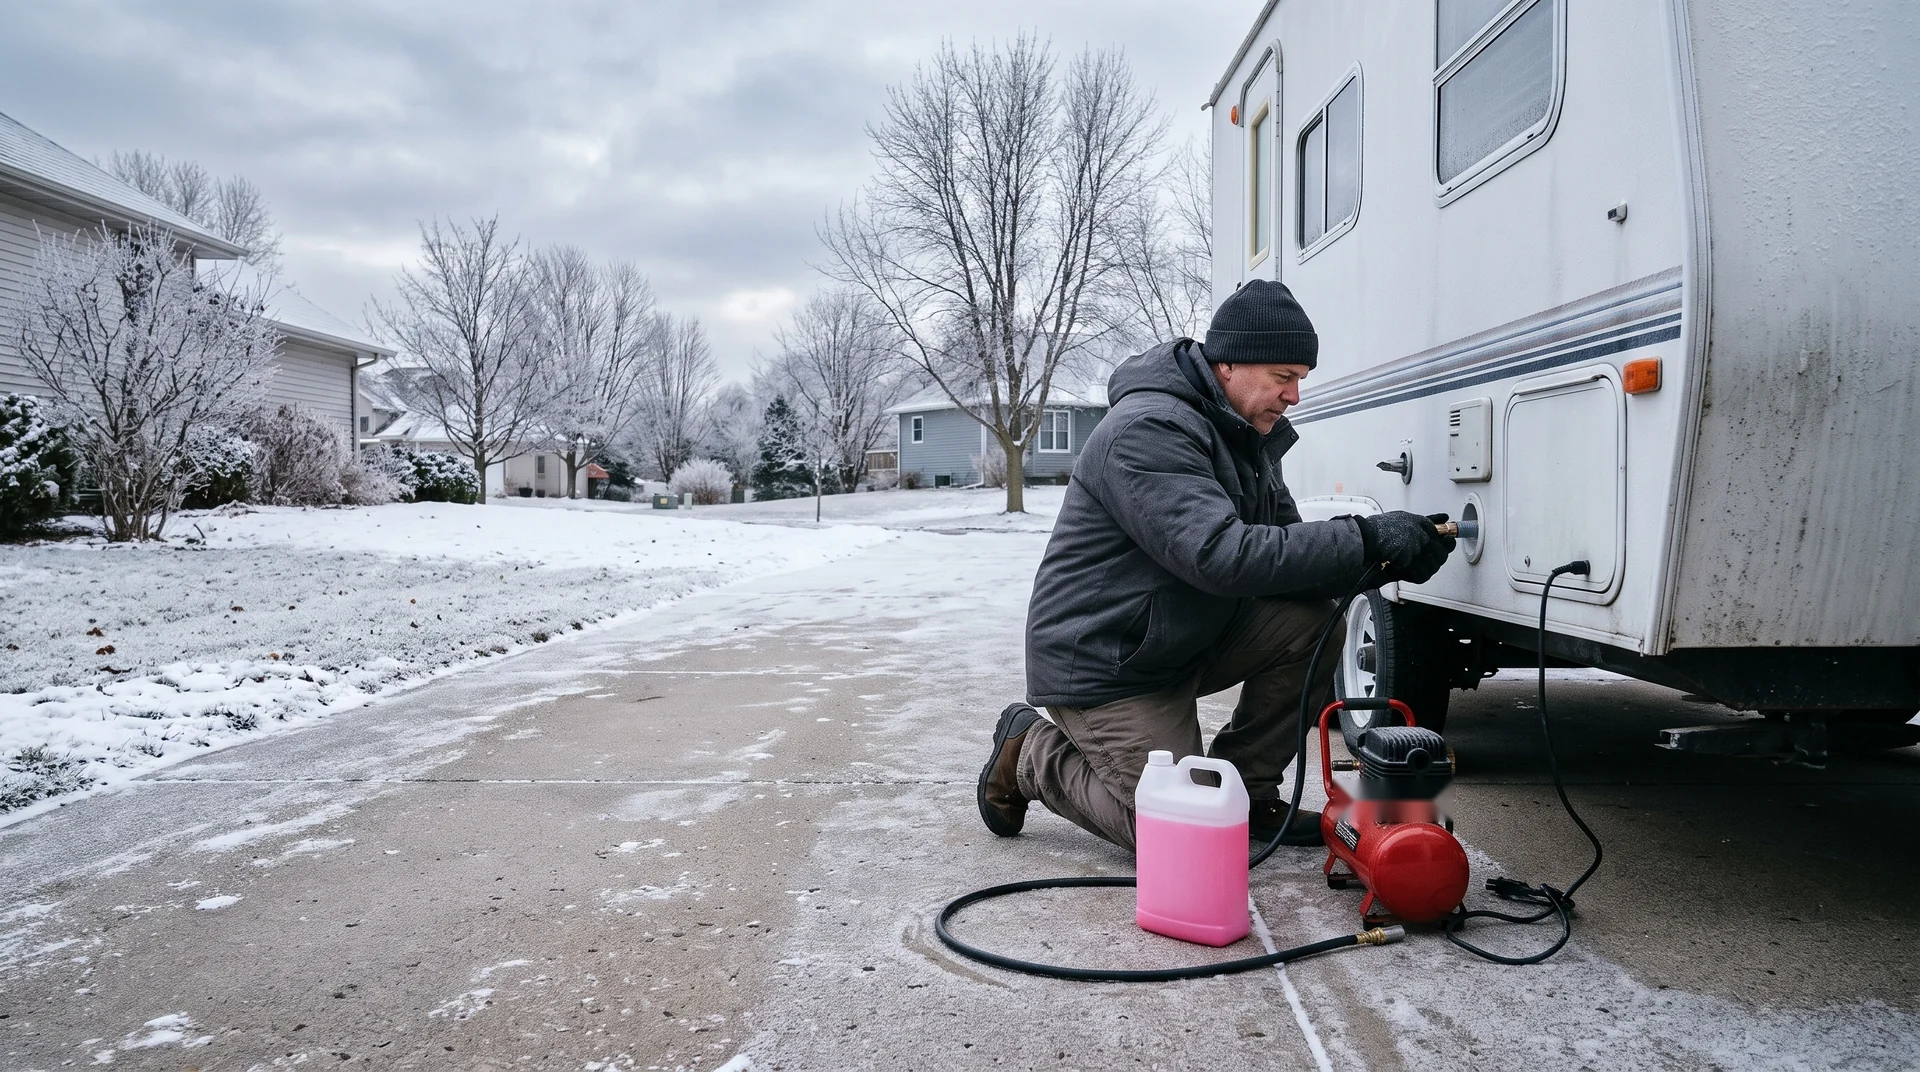
How to Winterize an RV: The Steps in Order, and the Checklist to Tick Off
Nine steps protect the plumbing before the first hard freeze, and the checklist below confirms nothing was missed.
Affiliate Disclosure Smart RV Hub may earn a commission if you purchase from A1 SolarStore through these links, at no additional cost to you; see our full disclosure.
How Do You Winterize an RV, Step by Step?
Work from the water heater outward, because each step empties the system before antifreeze goes in.
Steps follow the published owner guides from Keystone RV and Tiffin Motorhomes, and your own manual wins wherever it differs.
First, check where the rig will sit, because that decides whether the water steps are needed at all.
- Heated indoors, kept above 32°F: skip the water steps. Still check battery, seals, rodents.
- Unheated indoor storage: run the full checklist. An unheated building still freezes.
- Outdoors through a freeze: run the full checklist. Finish before the first hard freeze.
Step 1: Remove inline water filters
Take out any filter cartridges first, since water left in a housing can split it and antifreeze would ruin the cartridge.
Step 2: Drain the water heater
Turn off its power or gas and let it cool fully. Then pull the drain plug from the hot water tank and open the pressure relief valve, or follow the maker manual for a tankless unit.
Step 3: Empty the holding tanks
Dump and flush the black water and gray tanks, then drain the fresh water tank completely.
Step 4: Open the low point drains
Open the hot and cold low point drains and every faucet, including the outside shower, until the water lines run empty.
Step 5: Bypass the water heater
Turn the bypass valves behind the water heater so antifreeze skips the tank, which saves several gallons.
Step 6: Connect the antifreeze
Close the drains, then attach a pump converter hose to the water pump inlet and drop it into a jug of RV antifreeze.
Step 7: Pump until it runs pink
Run the pump and open each faucet, hot side then cold, nearest the pump first, until pink antifreeze flows steadily.
Step 8: Protect the drains and toilet
Flush the toilet until pink shows, then pour a cup of antifreeze into each sink and shower drain.
Step 9: Close up and record
Close every faucet and drain, switch off the pump, and note the date and how many gallons the rig took.
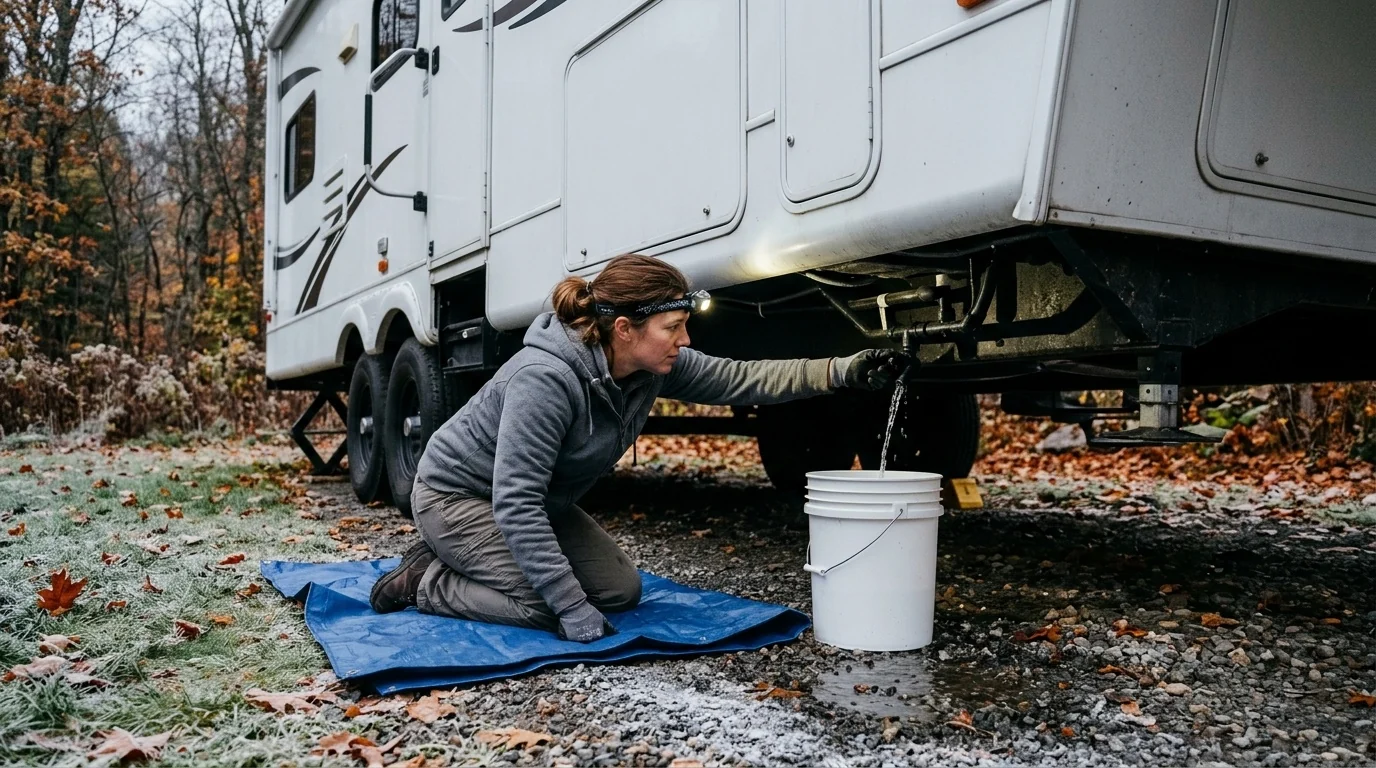
Some owners blow out the water lines with an air compressor at low pressure before the antifreeze goes in. Fixture makers publish the maximum pressure to use.
Based on published owner guides and independent antifreeze tests, never on first person testing.
Sources: Keystone RV antifreeze method, Tiffin general winterization instructions and eTrailer step by step guide.
Which RV Antifreeze Should You Use?
Use only nontoxic antifreeze made for RV and marine plumbing, never the green or orange coolant from a car.
RV.com calls automotive antifreeze in an RV water system dangerous, because it is toxic and the lines carry drinking water.
Propylene glycol blend
Strengths: Kinder to seals and gaskets, with excellent corrosion protection in Practical Sailor tests
Watch for: Usually costs more per gallon
Ethanol blend
Strengths: Good burst protection at a lower price
Watch for: Flammable, and weaker corrosion protection in the same tests
Automotive antifreeze
Strengths: None for this job
Watch for: Toxic, so never put it in an RV water system
The number on the jug, such as minus 50°F, is the burst rating rather than the temperature where the fluid stays liquid.
Most RV antifreeze is rated to minus 50°F, and minus 100°F versions exist for the coldest winters, according to RV Travel.
Sources: Practical Sailor antifreeze tests, RV Travel on antifreeze types and RV.com winterizing guide.
What Goes on an RV Winterization Checklist?
Tanks drain first. The battery goes to bed last, because each stage protects the one after it.
The 6 stages run in this order:
- Tanks: fresh, gray, and black drained, low point drains run clear.
- Water heater: drained, cooled, and switched to bypass.
- Antifreeze: through every hot and cold fixture.
- Seal and vent: roof, sidewall openings, and vent covers.
- Battery: fully charged, then disconnected.
- Winter charging plan: a maintenance charger or small solar panel.
The winterization sequence at a glance
Tap any stage to see what to check and note. Do it before your RV sleeps for the winter.
Tanks
Check that the fresh, gray, and black tanks are fully drained and the low point drains have run clear.
Note the date. Spring flushing then starts from a known state.
The Full Winterization Checklist
Work top to bottom. Note the date, since spring dewinterizing starts from this record.
- Antifreeze jug: 2 to 3 gallons on hand.
- Water pump: the pickup hose draws pink.
- Heater bypass: the valve is on bypass.
- Every fixture: each tap runs pink, outside showers too.
Water system
- Check the fresh water tank is drained and its drain valve closed afterward.
- Check the gray and black tanks are emptied and flushed at a dump station.
- Check both low point drains have run clear and are closed again.
- Check the water heater is cooled, drained, and switched to bypass.
- Inspect the anode rod while the plug is out and note its condition.
- Check antifreeze reaches every hot and cold fixture, including outside showers.
- Check the toilet bowl and each P trap hold a cup of antifreeze.
- Note how many gallons the rig took for next season.
- RV antifreeze for most rigs2 to 3 gallons
- Most RV water heater tanks, skipped by the bypass6 to 10 gallons
- Toilet bowl and each P trap1 cup of antifreeze
- Professional winterizingAbout $100 to $250
Openings and seals
- Inspect roof seams and sealant, using our roof check that catches leaks before winter.
- Pull every water filter cartridge before the freeze, since water left in a housing splits it, as covered in our RV water filter guide.
- Check vent covers are sound and vents are cracked open if your storage plan calls for airflow.
- Inspect the underbody and note any gap a mouse could enter.
- Check window and door seals seat fully.
Battery and power
- Check the bank is fully charged, then disconnected or switched off.
- Note the resting voltage so spring reveals any decline.
- Check flooded batteries have correct water levels before storage.
- Check whether your winter storage spot allows a trickle charger or a small solar panel. Either one keeps the bank topped up through the months the rig sits.
- Check propane is off at the tank and detectors have fresh batteries for spring.
Why Do So Many Batteries Die Over Winter?
Lead acid banks hate sitting flat. They self discharge in storage, so spring is when weak banks get found out.
According to published specs, LiFePO4 lithium holds charge for months in storage and is not harmed by resting at partial charge the way lead acid is.
From a 100Ah rating, AGM gives about 50Ah usable and LiFePO4 gives 80 to 100Ah.
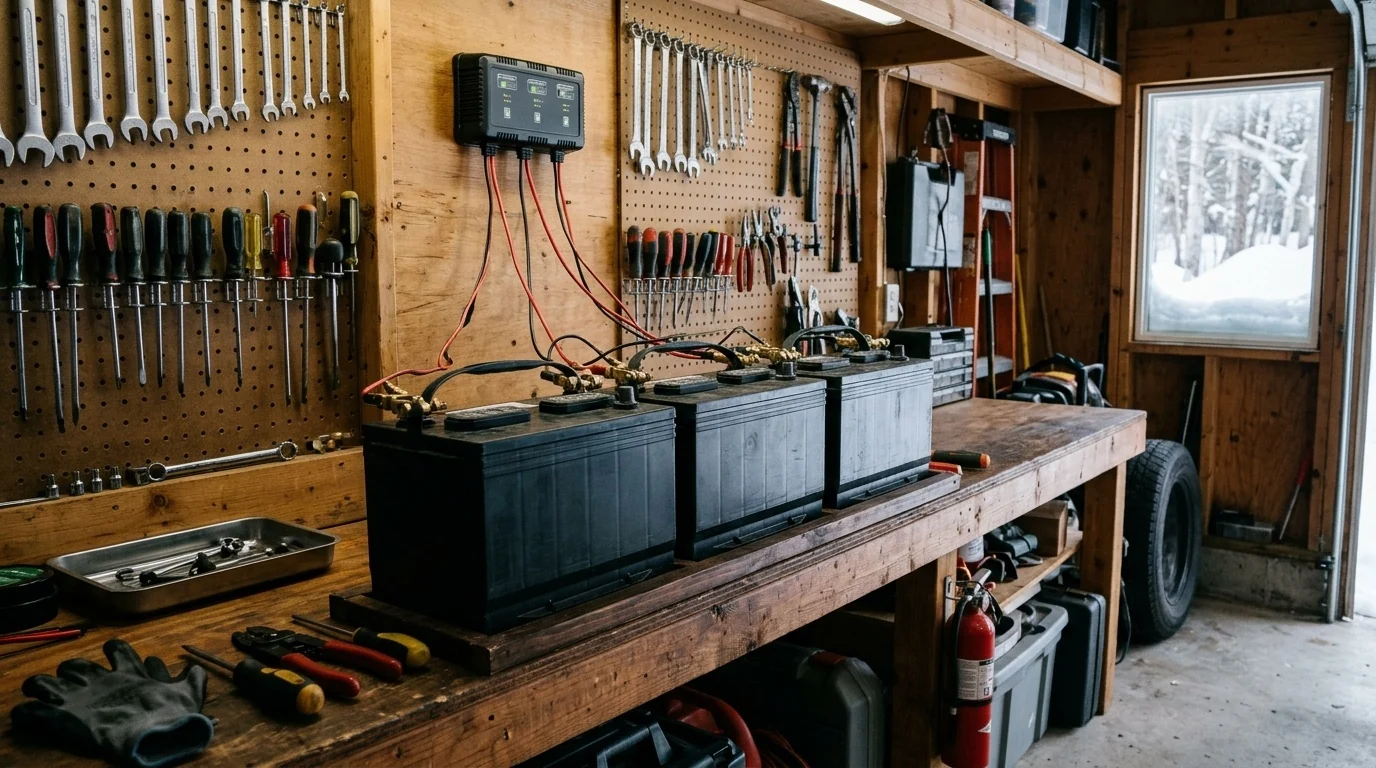
If this winter is your bank's last, our lithium battery guide compares the replacement options.
Free shipping options on qualifying orders
Rated 4.4 of 5 on Trustpilot, checked November 2026 (opens in a new tab)Ships from over 60 US fulfillment centers, checked October 2026.
Shop 12V Lithium RV BatteriesAffiliate link. We may earn a commission at no extra cost to you.
Take a Printable RV Winterizing Checklist With You
The free 1 page PDF covers the pre trip and monthly checks that carry on year round.
The Complete RV Maintenance Checklist ebook, with the full seasonal cadence, is in waitlist.
Smart RV Hub Editorial Team
RV Technology Research and Reviews
Our writers research smart RV technology full time, covering solar power, connectivity, security, and power management.
Every guide draws on published manufacturer specifications and owner reviews, so you can compare options with confidence.
Meet the editorial team and our review standardsRV Winterization Questions
How do you winterize an RV?
Drain the water heater and every tank, open the low point drains, switch the water heater to bypass, then pump nontoxic RV antifreeze through each faucet until it runs pink.
Finish with a cup of antifreeze in each drain and the toilet, then close every valve, according to the Keystone RV and Tiffin Motorhomes owner guides.
Can you use car antifreeze to winterize an RV?
No. Automotive antifreeze is toxic and does not belong in a drinking water system, as RV.com warns.
Only use antifreeze labeled for RV and marine plumbing, which is usually pink.
What does the minus 50 rating on RV antifreeze mean?
It is the burst rating, the temperature down to which the fluid protects pipes from splitting, not the point where it stays liquid, according to RV antifreeze retailers.
Most products are rated to minus 50°F, and some go to minus 100°F for the coldest climates.
Is propylene glycol or ethanol RV antifreeze better?
Propylene glycol blends are generally the better choice, because ethanol is flammable and showed weaker corrosion protection in Practical Sailor's testing.
Ethanol blends still protect against bursting and usually cost less.
What is on an RV winterization checklist?
An RV winterization checklist verifies 6 things in order: tanks drained, water heater bypassed, antifreeze through every fixture, openings sealed and vented, battery charged and disconnected, and a plan to keep the bank topped up.
Each item is a check you can make in the driveway with no special tools.
When should you winterize an RV?
Winterize before the first hard freeze in your area, since water expands as it freezes at 32°F and split fittings follow.
In much of the north that is typically late September through October, so check your local first frost date.
How much RV antifreeze does winterizing take?
According to published guidance from antifreeze makers, most RVs take 2 to 3 gallons of nontoxic RV antifreeze.
Larger rigs with washing machines or ice makers can take more, so note what yours used for next year.
Does antifreeze go in the fresh water tank?
No. The standard method draws antifreeze through the water pump with a pump converter kit or siphon hose, leaving the fresh tank empty.
Check the fresh tank is drained rather than filled.
Why does the water heater need a bypass?
According to published tank specs, most RV water heaters hold 6 to 10 gallons, so the bypass keeps that volume of antifreeze from being wasted filling a tank that is stored empty.
Check the bypass valve position before antifreeze goes in.
What happens to the RV battery over winter?
Check the bank is fully charged and disconnected, since parasitic loads flatten a stored battery in weeks.
Per published specs, lead acid self discharges much faster in storage than LiFePO4 lithium does.
Can you winterize with compressed air instead of antifreeze?
Some owners blow out the lines with low pressure air, and some use both methods together.
Check your manufacturer guidance, since fixture makers publish maximum air pressures.
Do you need to winterize if the RV is stored indoors?
Indoor storage that is reliably held above freezing can make water system winterizing unnecessary, but the battery, seal, and rodent checks still apply.
Unheated indoor storage still freezes, so the full checklist still runs.
What does professional winterizing cost?
Published dealer service menus commonly price winterizing between about $100 and $250.
Running this checklist yourself costs the price of antifreeze.
Related Checklists and Guides
The year round cadence this checklist belongs to.
RV Storage Near YouIndoor, covered and outdoor storage once the rig is ready.
RV Roof Inspection ChecklistCheck the roof before months of snow sit on it.
Best Lithium Batteries for RVsIf the bank does not survive the winter.
Is Renting Out Your RV Worth It?What owners earn listing the rig in the months it would otherwise sit.
Add Me to the Maintenance Checklist Waitlist
The Complete RV Maintenance Checklist ebook covers winterizing, dewinterizing, and the full year round cadence.
Not on sale yet, and there is no launch date so far.
No spam, and you can unsubscribe anytime. See our Privacy Policy.