How to Install an RV Water Filter, Step by Step
Three filter types, three very different jobs.
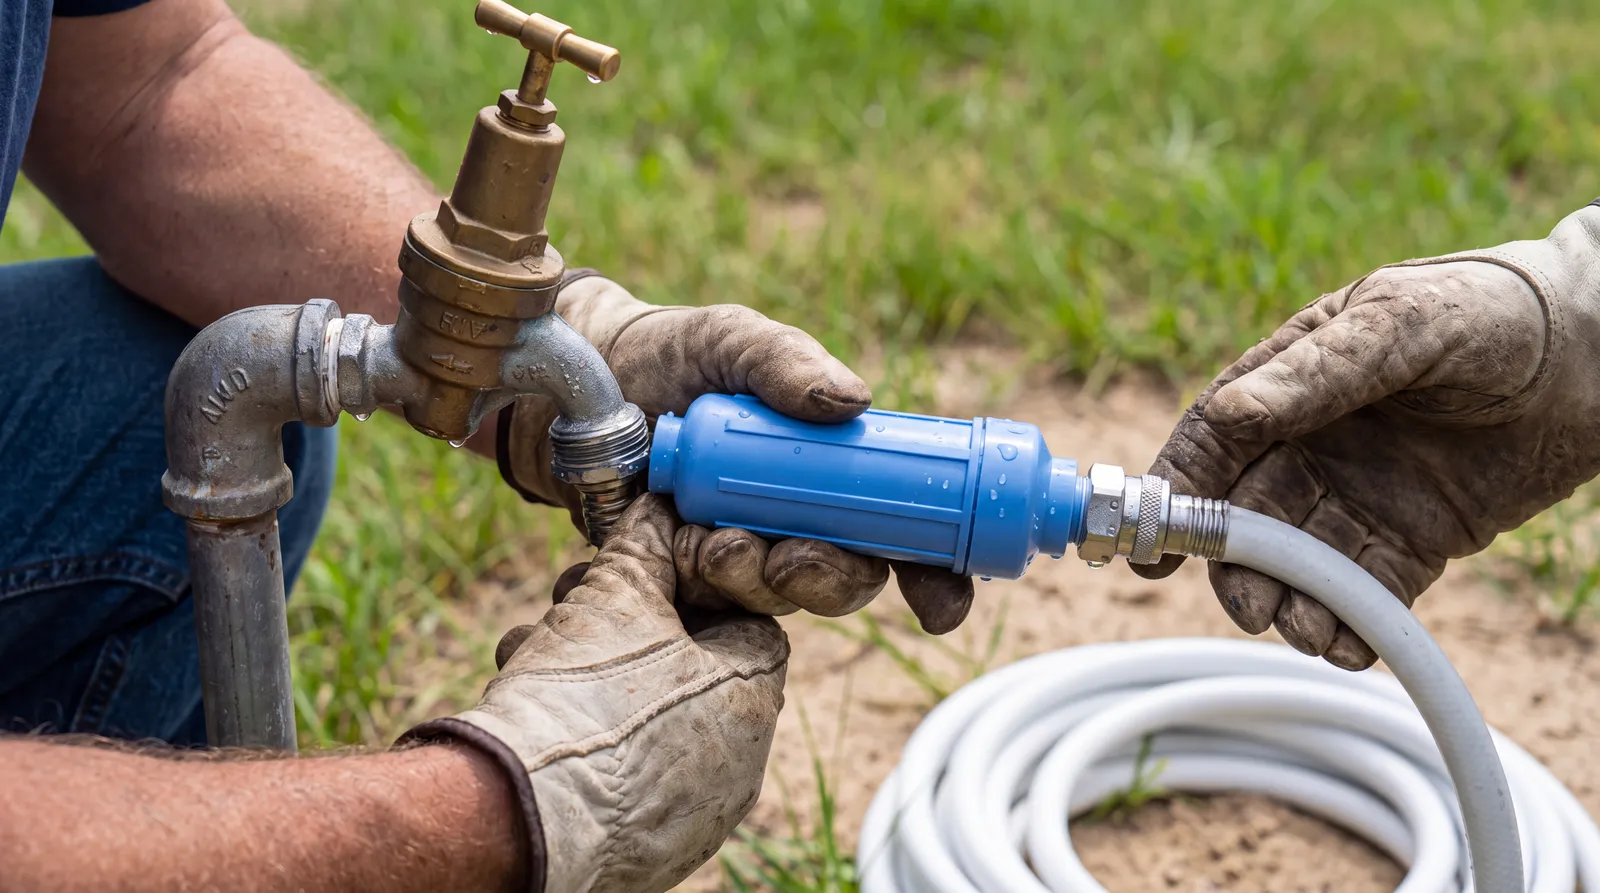
The inline version takes five minutes and no tools at all.
What You Need, by Filter Type
Work out which type you have before buying tools you will not use.
Inline hose filter
Time
5 minutes
Tools
None
Skill level
Anyone
Under sink system
Time
1 to 2 hours
Tools
Wrench, drill, tape, bucket
Skill level
Basic plumbing
Whole RV system
Time
2 to 4 hours
Tools
Wrenches, pipe cutter, crimp tool
Skill level
Confident DIY
Installing an Inline Hose Filter
This is the version most often recommended for a first filter, and it needs no tools whatsoever.
The whole job happens outside at the spigot, so nothing inside the rig is touched.
- Turn off the water at the campground spigot. Close the supply before disconnecting anything.
- Disconnect the drinking water hose. Take the hose off the spigot and set it aside.
- Fit the pressure regulator. Thread the regulator onto the spigot first so it protects the filter.
- Screw the filter onto the regulator. Hand tight plus a quarter turn is enough.
- Reconnect the hose to the filter outlet. Check the flow arrow points from the spigot toward the RV.
- Turn the water on slowly and check for leaks. Open the supply gradually and watch every joint.
- Flush the new cartridge. Run water for two to three minutes before drinking.
Two things worth doing
Bag the filter when you travel so the inlet stays clean between stops.
Note the date you fitted it, because rated life is counted in gallons and months, not seasons.
Cartridge replacement reminders by email
Filter life is counted in gallons, so we will remind you when yours is due.
Free by email. Unsubscribe anytime.
Installing an Under Sink System
An under sink system gives filtered water at one tap rather than the whole rig.
Published installation guides put this at one to two hours for someone comfortable with fittings.
- Turn off the water pump and open a faucet to drop the pressure.
- Photograph the existing plumbing before you disconnect anything.
- Pick a mounting spot in the cabinet with room to swap cartridges later.
- Mount the filter bracket to the cabinet wall.
- Close the cold water supply valve under the sink.
- Disconnect the cold water line from the faucet.
- Fit the T connector into the cold water line.
- Run tubing from the T connector to the filter inlet.
- Run tubing from the filter outlet to the faucet you are feeding.
- Turn the water back on and check every joint with a dry hand.
- Flush the system for two minutes before drinking.
Quick connect fittings cost a little more and make every future cartridge change far faster.
Installing a Whole RV System
A whole RV system filters everything entering the rig, including the shower and the water heater.
It is the most involved fit here, because it means cutting into the main supply line.
- Find the main water inlet on the exterior wall.
- Turn off the supply and drain the system fully.
- Cut into the main line after the inlet and before any branch.
- Fit shutoff valves on both sides of the filter position.
- Mount the housing to a solid surface, not to thin panel.
- Connect the inlet side to the incoming supply.
- Connect the outlet side to the RV plumbing.
- Fit a bypass valve so winterizing does not mean draining the filter.
- Open every faucet in the rig.
- Turn the water on slowly and inspect each connection.
- Flush for five minutes, then close the faucets and check pressure.
If cutting into the supply line is beyond what you want to take on, this is the one worth paying a shop to do.
Testing and Flushing Afterwards
Check for leaks with the water running before you close any cabinet or panel.
Run the flush the manufacturer specifies, which is usually two to five minutes.
Then compare the flow at the tap against what you had before, because a sharp drop points to a seating problem or a filter fitted the wrong way round.
Five mistakes that cause leaks and repeat work
- Fitting the housing backwards, ignoring the flow arrow molded into it.
- Over tightening, which cracks plastic threads and crushes the O ring.
- Skipping the flush, so carbon dust reaches the glass.
- Leaving the cartridge in over winter, where it freezes and splits the housing.
- Running with no pressure regulator upstream of the filter.
Where These Steps Come From
Every specification and time here is taken from published manufacturer installation guidance.
We have not installed these systems ourselves, so nothing on this page reports how a fit went.
Smart RV Hub Editorial Team
RV Technology Research and Reviews
Our writers research smart RV technology full time, covering solar power, connectivity, security, and power management.
Every guide draws on published manufacturer specifications and verified owner reviews, so you can compare options with confidence.
Meet the editorial team and our review standardsRV Water Filter Installation Questions
Do I need a plumber to install an RV water filter?
Not for an inline filter, which screws onto the spigot with no tools at all.
Under sink and whole RV systems need basic plumbing confidence, and published installation guides put them at one to four hours for someone comfortable with fittings.
What tools do I need to install an RV water filter?
An inline filter needs nothing beyond your hands.
An under sink system needs an adjustable wrench, a drill, plumbing tape and a bucket, and a whole RV system adds a pipe cutter and a crimp tool for the supply line.
Which way round does an RV water filter go?
Every housing is marked with an arrow showing the required flow direction, from the supply side to the RV side.
Fitting it backwards pushes water the wrong way through the media, which manufacturers warn reduces filtration and can damage the cartridge.
How long should I flush a new RV water filter?
Manufacturer instructions typically call for a flush of two to five minutes before the water is used for drinking.
New cartridges carry carbon dust and manufacturing residue, and the flush clears both.
Do I need a pressure regulator with my water filter?
Yes, and it belongs upstream of the filter rather than after it.
RV manufacturers generally specify 40 to 60 PSI, and campground supplies can run well above that, which stresses both the filter housing and your fittings.
Can I install a water filter on a rental RV?
An inline hose filter is the only sensible option on a rental, because it threads on at the spigot and leaves the rig untouched.
Under sink and whole RV installations modify plumbing, so they are for rigs you own.
How do I know the installation worked?
Check every joint for leaks with the water running before you close anything up.
Then confirm the flow rate has not dropped sharply, since a large drop usually means the cartridge is seated wrong or the filter is fitted backwards.
Do I have to remove the filter for winter?
Yes, cartridges come out before winterizing.
Water left inside a housing expands as it freezes and splits the housing, which is why published winterizing guidance puts cartridge removal before the antifreeze step.
Choosing the filter, and keeping it working once it is fitted.
Best RV Water Filters
The ten filters compared, and which type suits your setup.
Inline vs Canister Filters
The choice that decides how involved this job is.
RV Water Systems
How fresh, gray, and black water move through your rig.
RV Winterization Checklist
Where cartridge removal sits in the freeze prep order.
Your Ongoing Upkeep Schedule
The replacement cadence once the filter is fitted.
Dry Camping Explained
Filling from untreated sources, and what that demands.
Before You Start
Match the job to the filter you actually own, because the inline version needs nothing and the whole rig version needs an afternoon.
If you have not chosen one yet, our RV water filter comparison covers the types and what each one stops.