RV Solar Installation Guide: DIY Steps That Save $500 to $1,500
Complete step by step DIY installation guide. Save $500 to $1,500 in labor costs by installing solar panels on your RV yourself.
Affiliate Disclosure
This page contains affiliate links.
When you purchase through these links, we may earn a commission at no additional cost to you.
This helps support our free calculators, guides, and research tools. Read our full disclosure
📋 What you'll discover
- Install solar panels yourself and save $500-$1,500
- Follow our 7 step installation process
- Avoid roof leaks with proper sealing techniques
- Size your system correctly with our calculator
- Complete installation in just 4 to 8 hours
Rated Excellent on Trustpilot, fast US shipping
Trust signals verified May 2026.
Stay Longer, Go FurtherAffiliate link. We may earn a commission at no extra cost to you.
Start With Our Solar Calculator
Before you start installation, use our free calculator to determine exactly how much solar you need based on your power consumption.
Calculate Your Solar NeedsBefore You Start
- Working on your RV roof requires proper safety precautions. Never work alone.
- Disconnect batteries before any electrical work.
- Cover panels with a blanket during installation. They produce power in any light.
- If unsure about any step, consult a professional.
Step by Step Installation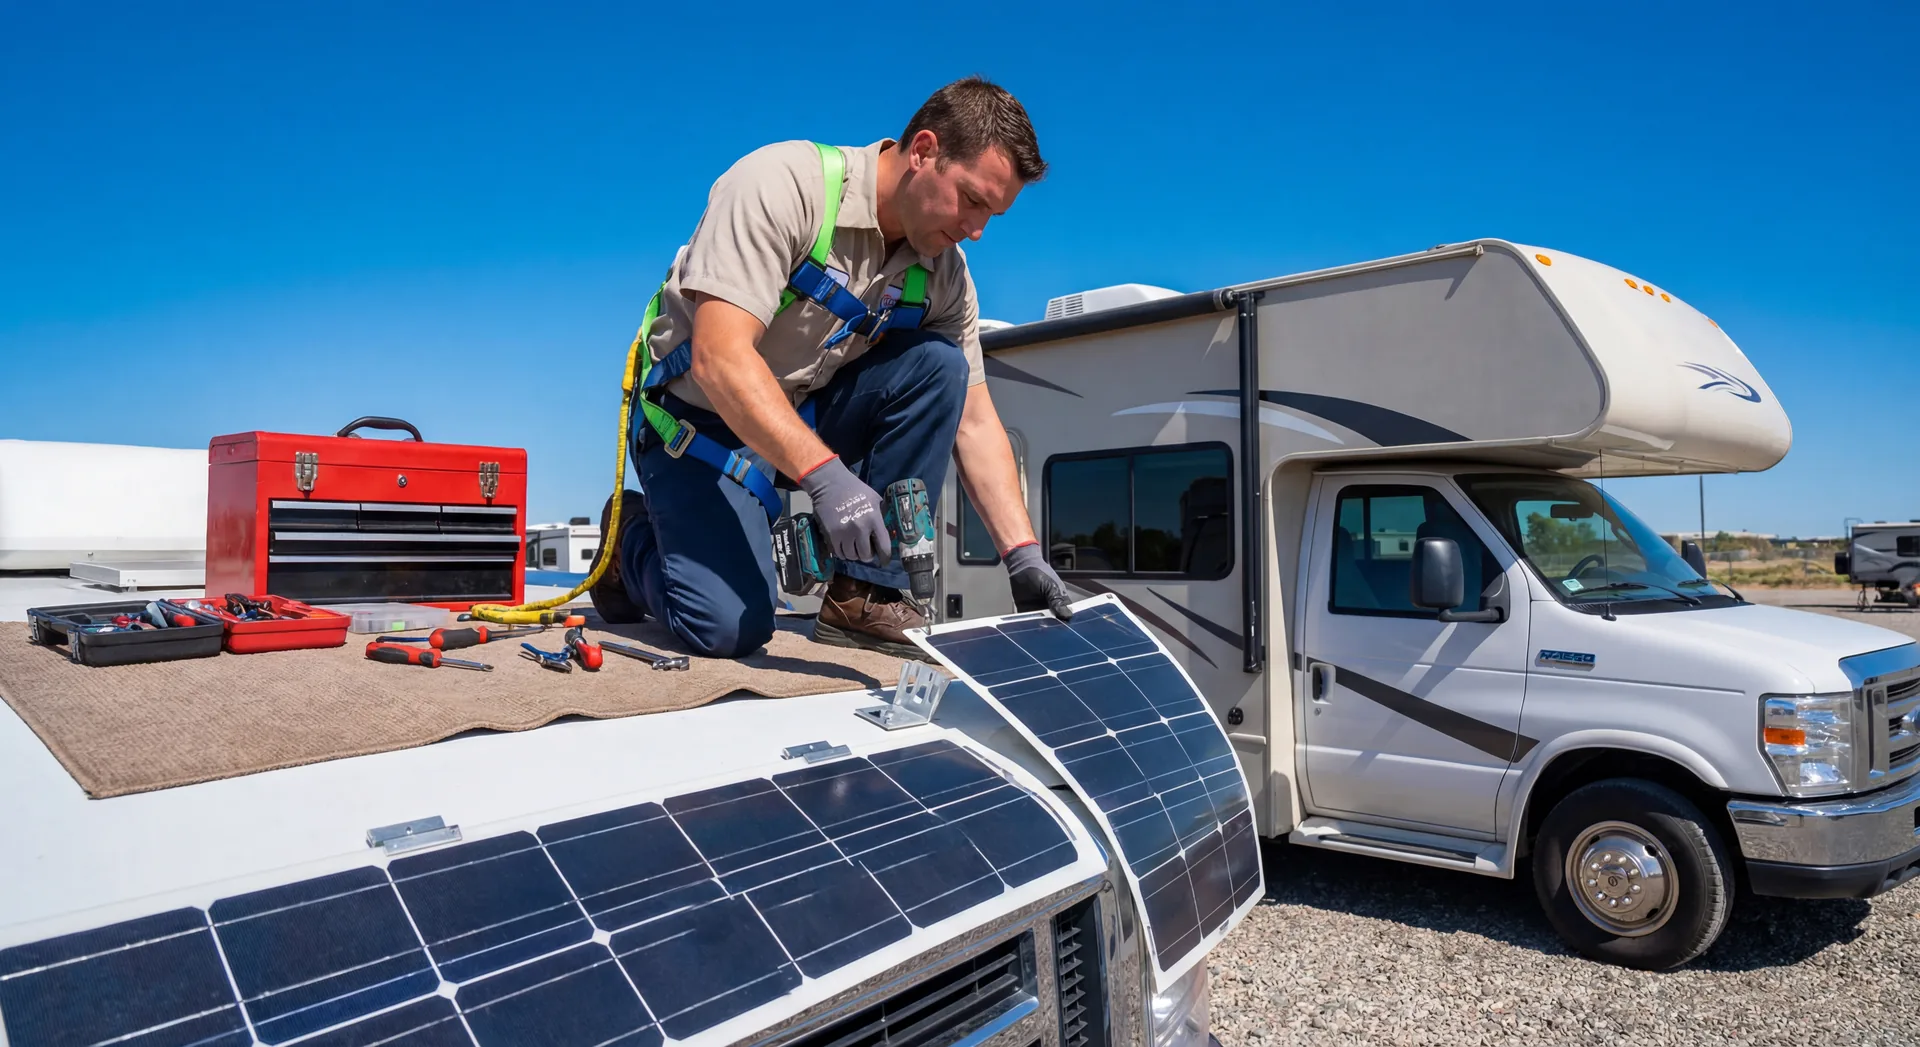
The DIY install runs in seven stages: plan the system, gather tools, prep the roof, mount the panels, run the wiring, install the charge controller, then test the output. Most owners finish in 4 to 8 hours.
Plan Your Solar System
1-2 hoursCalculate your power needs and design your system
- Use our solar calculator to determine wattage needed
- Measure your roof space and identify mounting locations
- Choose between series vs parallel wiring configuration
- Select MPPT vs PWM charge controller (MPPT recommended)
- Create a wiring diagram before purchasing
Gather Tools and Materials
Shopping tripGet everything you need before starting. Check our guide to the best places to buy RV solar panels for trusted retailers and current deals.
- Solar panels (200W monocrystalline recommended)
- MPPT charge controller (sized for your system)
- Mounting brackets or Z-brackets
- 10 AWG solar wire (red and black)
- MC4 connectors and crimping tool
- Entry gland or waterproof cable box
- Dicor lap sealant (self leveling for flat surfaces)
- Drill, bits, screwdrivers, multimeter
Prepare the Roof
30-60 minutesClean and plan mounting locations
- Clean roof surface thoroughly
- Identify and avoid AC units, vents, skylights
- Mark panel positions with tape (test layout first)
- Locate roof rafters or support structure if possible
- Plan wire routing to minimize roof penetrations
Mount the Solar Panels
2-3 hoursSecure panels to your RV roof
- Pre-drill holes for mounting brackets
- Apply Dicor sealant around each hole BEFORE installing screws
- Secure brackets with stainless steel screws
- Attach panels to brackets (do NOT over-tighten)
- Apply additional sealant over screw heads
- Ensure panels have airflow underneath for cooling
Run Wiring Through Roof
1-2 hoursCreate waterproof entry point for cables
- Install entry gland or cable box near panels
- Drill hole sized for your cable box
- Apply generous Dicor sealant before installing
- Feed solar cables through entry point
- Seal around cables and over box edges
- Route wires inside RV to charge controller location
Install Charge Controller
1 hourMount and wire your charge controller
- Mount charge controller near batteries (within 6 feet ideal)
- Ensure adequate ventilation for controller
- Connect BATTERY cables FIRST (critical for MPPT)
- Then connect SOLAR input cables
- Double-check polarity before final connections
- Secure all connections with proper torque
Test and Verify
30 minutesConfirm everything works correctly
- Check solar voltage with multimeter (should match panel specs)
- Verify charge controller shows charging
- Monitor battery voltage over 30 minutes
- Test under full sun conditions if possible
- Check all connections are secure and sealed
Need to source your equipment? Our guide to buying RV solar panels covers authorized retailers with free shipping and pre-matched system kits.
How to Install Solar Panels on an RV
Complete step by step overview of installing solar panels on your RV, from planning to final testing.
What You Need
- Solar panels (200W recommended)
- MPPT charge controller
- Mounting brackets or Z-brackets
- 10 AWG solar wire
- MC4 connectors
- Entry gland or cable box
- Dicor lap sealant
- Battery cables (if upgrading)
- 1
Plan your solar system layout
Calculate power needs, choose panel wattage, select charge controller type (MPPT recommended), and map roof layout to avoid vents and AC units.
- 2
Calculate your power requirements
Use a solar calculator to determine exact wattage needed based on your daily power consumption and battery capacity requirements.
- 3
Mount solar panels on RV roof
Position panels in optimal locations, drill mounting holes, apply Dicor sealant, and secure panels with mounting brackets.
- 4
Install charge controller
Mount the MPPT charge controller near batteries in a well ventilated location, ensuring it's within 6 feet of the battery bank.
- 5
Connect battery bank
Connect battery cables to the charge controller FIRST (critical step for MPPT controllers), using appropriate gauge wire and torque specifications.
- 6
Wire panels to controller
Run solar cables from panels through waterproof entry gland, connect to charge controller solar input terminals, and verify correct polarity.
- 7
Test the complete system
Use multimeter to verify solar voltage, check charge controller display for charging status, and monitor battery voltage under full sun conditions.
✓ Expert help when you need it
Rated Excellent on Trustpilot, fast US shipping
Trust signals verified May 2026.
Stay Longer, Go FurtherAffiliate link. We may earn a commission at no extra cost to you.
What Are the Most Common RV Solar Installation Mistakes?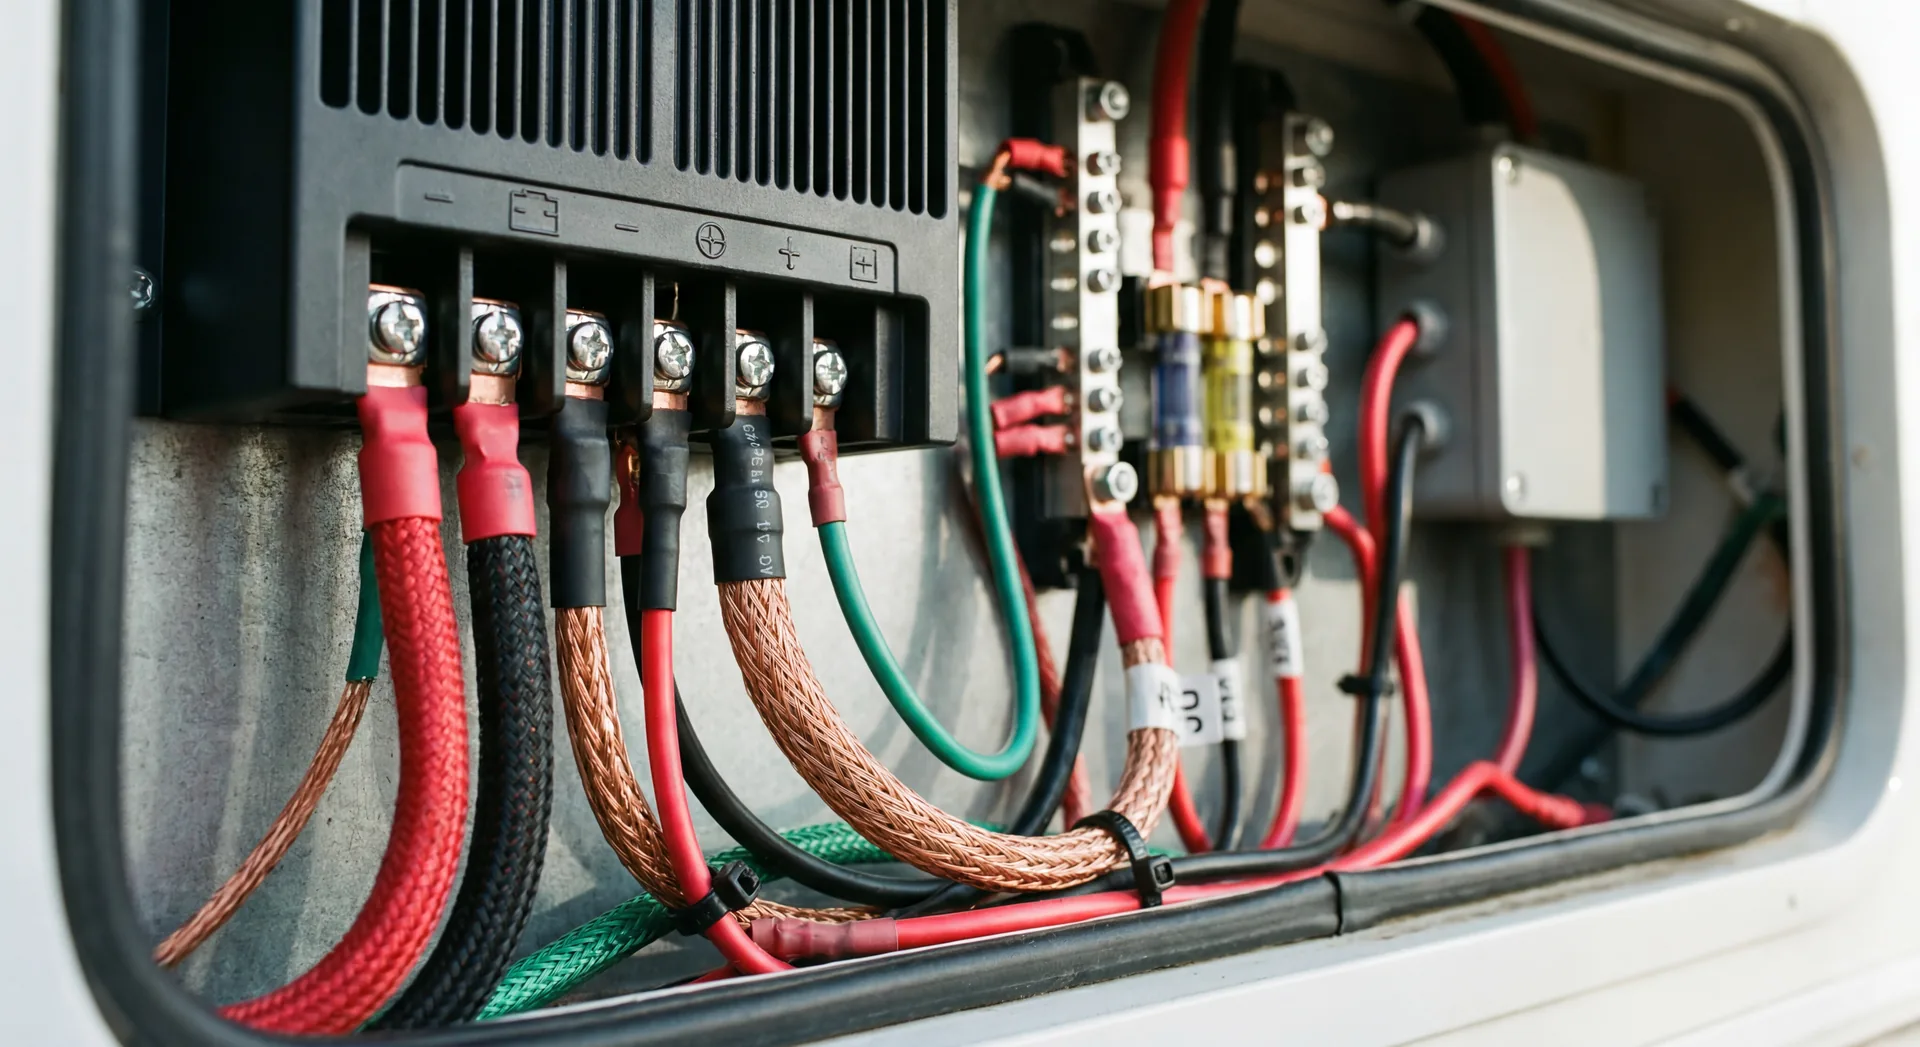
The costliest mistakes are connecting solar before the battery, undersizing wire gauge, sealing the roof poorly, and pairing a PWM controller with high voltage panels. Avoiding these protects both your controller and your roof.
Connecting solar before batteries
Consequence: Can damage MPPT charge controllers
Fix: Always connect battery cables FIRST, then solar input
Undersizing wire gauge
Consequence: Power loss, heat buildup, fire risk
Fix: Wire gauge depends on amperage and distance — consult an AWG chart or electrician for your specific setup
Inadequate roof sealing
Consequence: Roof leaks causing water damage
Fix: Use Dicor lap sealant generously, recheck after 6 months
PWM controller with high-voltage panels
Consequence: Wasted energy, poor charging
Fix: Use MPPT controller for panels over 100W
Shading even one panel
Consequence: Dramatically reduces entire system output
Fix: Plan mounting to avoid shadows from AC, vents, antennas
Not fusing properly
Consequence: Fire hazard if short circuit occurs
Fix: Install appropriately sized fuse between panels and controller
Where to Buy Solar Equipment
Shopping for solar equipment? See our comprehensive guide to where to buy RV solar panels for more retailers and deals.
If you prefer all in one solutions, check out our complete RV solar installation kits guide for pre configured systems with everything you need.
Connecting your battery bank is step six of this install. Before you buy, read our guide to RV solar battery sizing and selection so your bank matches your panel output and daily power use.
A1 SolarStore
A popular choice for RV solar equipment. Multiple warehouse locations mean fast shipping, with reliable order fulfillment and expert support.
- ✓ Complete RV solar kits available
- ✓ Fast shipping from over 60 locations
- ✓ Expert technical support
Affiliate link
- Over 60 Fulfillment Centers
- Free Shipping on Qualifying Orders
- Rated Excellent on Trustpilot
Trust signals verified May 2026. Check a1solarstore.com for current details.
Why RVers source their solar gear from A1 SolarStore.
Related Solar Guides
Best RV Solar Panels 2026
Compare the top 10 RV solar panels based on performance data and owner reviews
Renogy vs Victron
Head to head comparison of the two biggest brands
Solar Sizing Calculator
Calculate exactly how much solar you need
Best Lithium Batteries for RV
Top LiFePO4 picks by capacity, cycle life, and cold weather performance
MPPT vs PWM Charge Controllers
Which controller type delivers more power for your system size
RV Solar Wiring Guide
Wire sizing, fuse placement, and how the panels, controller, and battery connect
RV Solar Cost Calculator
Estimate the full price of your system before you buy a single part
Solar Panels to Run RV AC
How many panels and how much battery it takes to run air conditioning
Flexible vs Rigid Solar Panels
Which panel type suits your roof, budget, and travel style
RV Solar Panel Maintenance
Keep panels clean and the system healthy for the long haul
200 Watt RV Solar Kit Guide
A beginner friendly starter setup that suits weekend campers
Latest RV Solar Deals
Save on the panels, controllers, and batteries your installation needs
Not Ready to Install Solar Yet?
Installing solar is a big decision. If you're still exploring the RV lifestyle, consider renting first to test your power needs in real world conditions.
Frequently Asked Questions
How much does it cost to install solar panels on an RV?
DIY RV solar installation costs $800 to $2,500 for a complete system (panels, charge controller, wiring, mounting). Professional installation adds $500-$1,500 in labor.
A typical 400W system costs approximately $1,200 DIY or $2,000 professionally installed. Larger 800W systems run $2,000-$3,500 DIY.
Can I install RV solar panels myself?
Yes, DIY RV solar installation is achievable for most handy RV owners. Basic electrical knowledge, proper safety precautions, and following manufacturer instructions are essential.
Most installations take 4 to 8 hours. The main challenges are roof mounting, running wires, and connecting the charge controller properly.
How long does it take to install solar panels on an RV?
A complete RV solar installation takes 4 to 8 hours for DIY installers and 2 to 4 hours for professionals.
This includes mounting panels, running wires through the roof, installing the charge controller, and connecting to batteries. Complex installations with multiple panels may take a full weekend.
What tools do I need to install RV solar panels?
Essential tools: drill with bits, screwdriver set, wire strippers, crimping tool, multimeter, caulk gun (Dicor sealant), socket set, and safety glasses.
Most installations also require: entry glands or cable boxes, MC4 connectors, appropriate gauge wiring (10 AWG for most systems), and mounting hardware.
Do I need to drill holes in my RV roof for solar panels?
Yes, most permanent RV solar installations require drilling holes for mounting brackets and wire entry.
However, some options exist: adhesive mounting (less secure), Z-brackets with fewer holes, or running wires through existing roof vents. Always use proper Dicor lap sealant to prevent leaks.
What size charge controller do I need for RV solar?
Charge controller size depends on your solar array wattage. Rule of thumb: divide total watts by battery voltage, then add 25% safety margin.
For a 400W system on 12V batteries: 400÷12×1.25 = 42 amps minimum. MPPT controllers are 20-30% more efficient than PWM and recommended for systems over 200W.
Do you connect the battery or the solar panels first?
Always connect the battery cables to the charge controller first, then connect the solar input. MPPT controllers read the battery voltage to set their charging profile, so connecting panels first can damage the controller.
Cover the panels with a blanket during wiring, since they produce power in any light. Double check polarity before the final connections.
How do you prevent roof leaks when installing RV solar?
Apply Dicor self leveling lap sealant around every mounting hole before driving the screws, then seal over the screw heads and around the wire entry gland once everything is in place. Generous, even sealing is what keeps water out.
Recheck the sealant after about six months and reapply where it has thinned or cracked. Most solar related water damage traces back to under sealed penetrations.
Smart RV Hub Editorial Team
RV Technology Research and Reviews
Our writers research smart RV technology full time, covering solar power, connectivity, security, and power management.
Every guide draws on published manufacturer specifications and verified owner reviews, so you can compare options with confidence.
Meet the editorial team and our review standards✓ Ships fast to get you camping sooner
Rated Excellent on Trustpilot, fast US shipping
Trust signals verified May 2026.
Stay Longer, Go FurtherAffiliate link. We may earn a commission at no extra cost to you.
See our complete RV Solar Hub for all solar guides and resources.